| Assembly Name
|
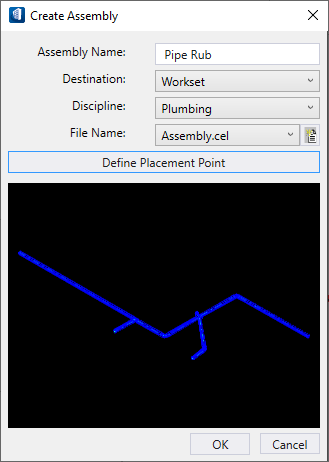
Assigns a name to the assembly being created.
|
| Destination
|
Sets the definition destination to either your
Workset,
Workspace, or
Organization location.
|
| Discipline
|
Sets the discipline for the assembly be assigned to.
Any type of element (Architectural, Electrical, Structural, HVAC or Plumbing)
can be included in an assembly.
Note: If you are using a ProjectWise managed configuration,
*.cel files are uploaded to folders named
Backup_Assembly which are under the cell
folder in all levels i.e workset, workspace and organization.
|
| File Name
|
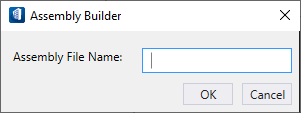
Selects the cell library (*.cel)
to save the component group to as an assembly cell. You can create a new cell
library file by clicking
 (New
File), and entering a new cell library file name. Once entered, the
new library file becomes a selection on the
File Name drop down list. (New
File), and entering a new cell library file name. Once entered, the
new library file becomes a selection on the
File Name drop down list.
|
| Define Placement Point
|
Defines the placement point when the assembly is
placed in the model. Select with a data point on the component assembly that is
a logical anchor point for the assembly.
|
| OK
|
Completes the creation of the assembly. The assembly
is saved as a
.cel file, and is treated as a group of
components when placed in the model.
|
 Used to assemble a
selected group of components into a distinct assembly, and save it for
placement at any time. A minimum of two elements must be selected to activate
the tool. There are no restrictions to the types components selected.
Components belonging to an assembly, once placed behave as if they were placed
individually.
Used to assemble a
selected group of components into a distinct assembly, and save it for
placement at any time. A minimum of two elements must be selected to activate
the tool. There are no restrictions to the types components selected.
Components belonging to an assembly, once placed behave as if they were placed
individually.